
It worked quite nicely to an extent but since it was just a quick test I didn't try to get the flow of the fur quite right. That was last semester, this semester I've redone the fur texture with more attention paid to the way it should be flowing. Here's a viewport render of how that looked:

Now the fur flows properly. After this I started work on the diffuse (colour) texture channel. This took quite a while to get right since the stripes on a tiger actually have a surprisingly distinctive look and shape to them making it really easy to spot if something isn't quite right. I painted the texture directly onto the model in Mudbox in several layers: White and Orange, Stripes and a couple of layers of extra detail for the mouth and around the eyes.
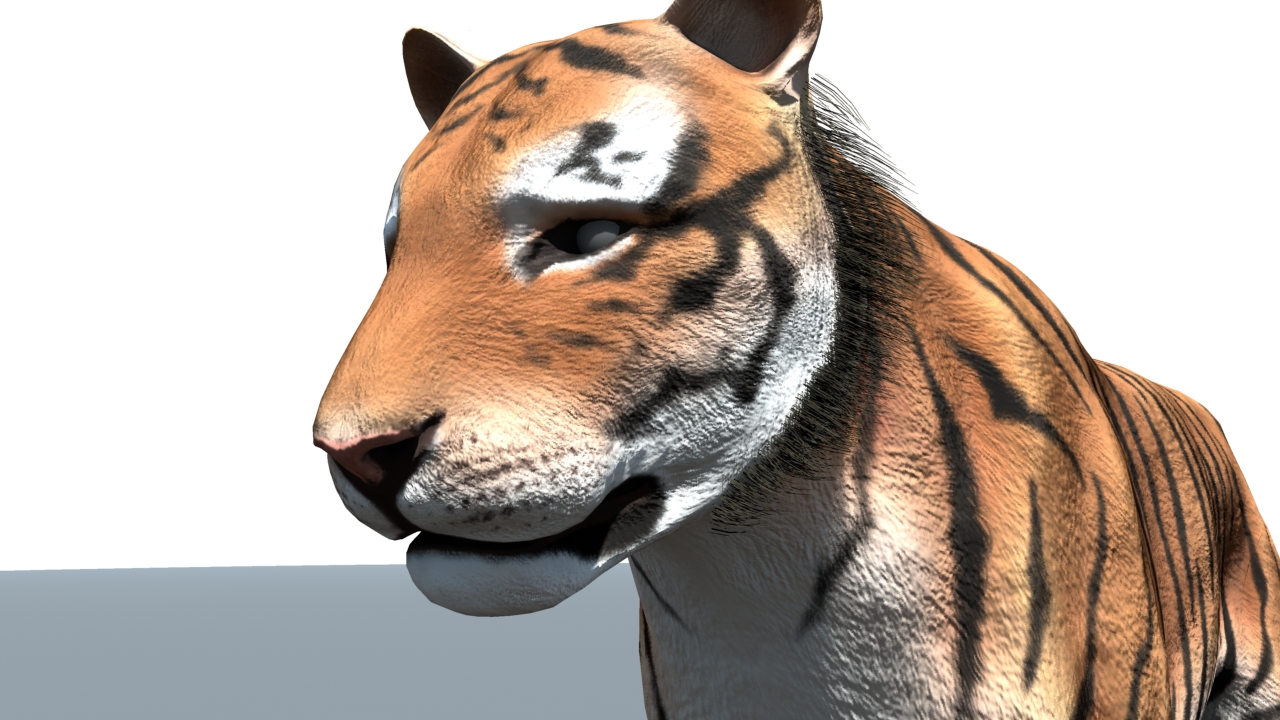
In the end it looked like this when combined with a normal map created from the sculpted fur:
The result is alright but the fur effect created by the normal map isn't very convincing around the mane area considering I'm aiming for photorealism. At this point I decided to try out Maya's hair (not fur) system. What I did was to first create a polygon structure around where the mane should be. This was to serve as a sort of scaffold for some NURBS curves to be built around.


With the curves built I then assigned a paintfx hair system to them. At this point the hair system doesn't display, it just dictates that any hairs created will follow the shape of the curves. The hairs became visible when I went to Hair > Create Hair and then made sure they were created in the hairsystemShape1 node that was created on the curves earlier. This also added hair follicles to the whole tiger in random ways which I didn't want. It was simply a case of deleting those follicles and that fixed it.
I went into the options for the hair system and played around with the settings until I had the right density, colour, thickness, etc. Then I rendered it:
The result was interesting, but it wasn't what I wanted. The hair sort of clashed with the normal map and create a sort of immediate hair line where the mane started which wasn't very realistic. It became clear that this wasn't going to work, but it wasn't really wasted time. I learned a great technique for creating and controlling hair which could come in useful for human hair and maybe even foliage in future.
I realised I needed really to have total coverage over the whole tiger's body. To achieve the effect I really wanted I really had to use Maya Fur.
Starting out, I had no idea how to use fur so this was something I had to learn from scratch. Oddly enough there are very few tutorials on how to use fur so that didn't help either. I started out with a Bear fur preset and applied it to the body of the tiger. In the options box I connected the tiger's diffuse texture to the fur base and tip inputs so that the fur rendered with the correct colour. I then found out you could change the fur's attributes through a paint tool. This was really important for getting the varying fur lengths, directions and inclinations.
Having played around for a while I had a system with 200000 hairs and, from what I could discern from the hair curve preview, something vaguely tiger-like. I hit render to see how it would look and, importantly, how long it would take. Here's the render I got in the end:

This was much closer to what I wanted. The problem with it was it took just over 50 minutes to render. At that rate I probably could have hit render then and there and not have had every frame by the deadline 3 months later. Instead of giving up I decided to see if I could reduce the render time down to something vaguely reasonable.
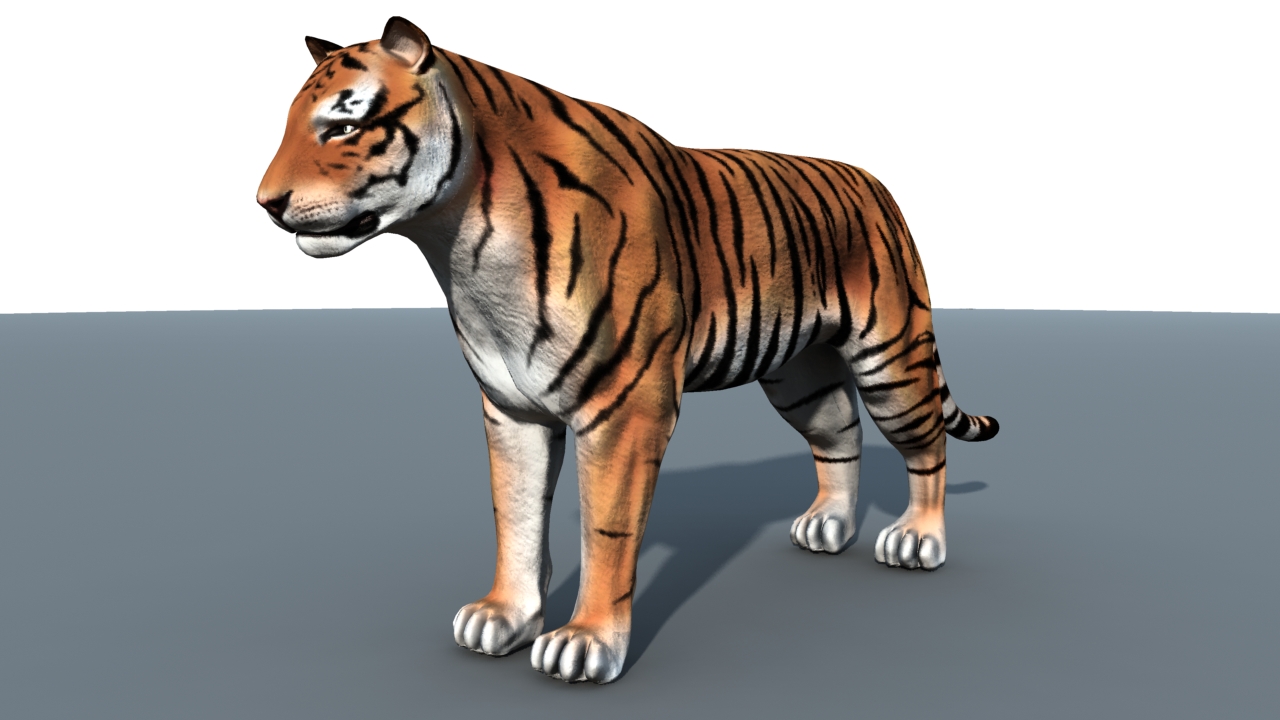
I reduced the volume samples to 2 from 5 and changed the renderer from scanline to rasteriser as well as removing all the dynamics from the fur. In the end I got the render time down to just under 2 minutes: A massive improvement. This allowed me to even make the fur a little more dense as a bonus.
Here's how things looked after the render tweaks:

This took about 3 minutes to render and had a density five times that of the previous render. And that's basically the stage at which the fur is at right now. I've recently been making some changes and fixes to the rig and I'll update on how that's going soon.
That's all right now.
No comments:
Post a Comment